Sunday, January 19, 2014

Vintage Hair Week, Day 1: Victory Rolls

Victory rolls became popular because of WWII. It kept hair out of women's faces efficiently, and  beautifully. It also formed a "V" shape which stood for Victory! Hence the name.

Here's what you will need:
Victory Rolls Tutorial, supplies, Adventures in the Past blog

Bobby pins in your hair color
Hairspray (cheap hairspray is best because it has more lacquer)
A teasing brush, you can get them at any beauty supply store
A boar bristle brush

Step 1:
Part your hair the way you want it, I did mine to the side.
I separated a section from the side with less hair, and clipped the rest out of the way.
Victory Rolls Tutorial, Step 1, Adventures in the Past blog
This makes it easier to roll. The section was about 2" at the root.

Step 2:
Pull the hair straight up. You may need a comb to help you here.
Victory Rolls Tutorial, Step 2a, Adventures in the Past blog
Then tease the inside of the roll. Don't tease the outside, because you want it to be smooth.
Victory Rolls Tutorial, Step 2b, Adventures in the Past blog
It will not look pretty.

Step 3:
Roll the hair around 2 or 3 fingers, depending on how big you want it. For this I used three fingers.
To pin it into place, you put one bobby pin facing towards the back of your head, and one facing the front. This keeps it from sliding about. If you need another, go ahead.
Victory Rolls Tutorial, Step 3a, Adventures in the Past blog

Spray it thoroughly, holding it in place as necessary.
Victory Rolls Tutorial, Step 3b, Adventures in the Past blog

Step 4:
For the other side, section off a larger section of hair, and clip back the rest.
Victory Rolls Tutorial, Step 4, Adventures in the Past blog
Again, pull it straight up, and tease the inside.

Step 5:
Roll using the same number of fingers towards your scalp.
Victory Rolls Tutorial, Step 5a, Adventures in the Past blog
Pin it in place the same as before. One pin forward, one pin back.
Spray it thoroughly, and hold in place as necessary.
Victory Rolls Tutorial, step 5b, Adventures in the Past blog

Step 6:
Comb out your bangs, if you have them, and sweep them to the side. Blend them into the curl, if they are long, like mine.
Victory Rolls Tutorial, step 6, Adventures in the Past blog

Spray them in place, and pin them if you need.

And Done!
Victory Rolls Tutorial, Finished Product, Adventures in the Past blog
Victory rolls!

If you have any questions, let me know, and I will do my best to answer!

Thursday, January 16, 2014

Coming Soon...

Recently I have gotten rather interested in vintage hair styles.

From the crisp bob of the 1920's...


To the Victory rolls of the 1940's...
 
To the pageboy hair of the late 1940's and 1950's...
 
To the Bouffants and beehives of the 1960's...
 

I love it all!

I have been teaching myself how to do some of these hair styles, and next week I am going to do a Vintage Hair style week. I will try to write tutorials for a couple of them, because I know it can be confusing sometimes. Look for these next week!

Monday, January 13, 2014

40's Obsession

Hello, friends, I am so sorry that I have not posted in over a month. My camera broke, and I used that as an excuse. Really, my father died last February, and his birthday is in December. That, along with our first Christmas at home without him, things got really difficult for me. I'm back, though, and I will try to keep up at least two posts a week (preferably more).

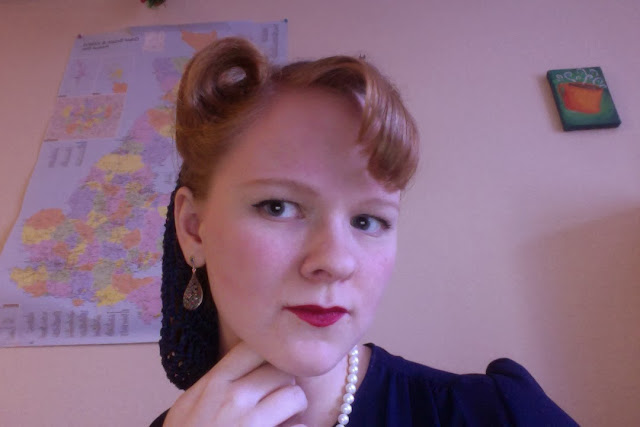
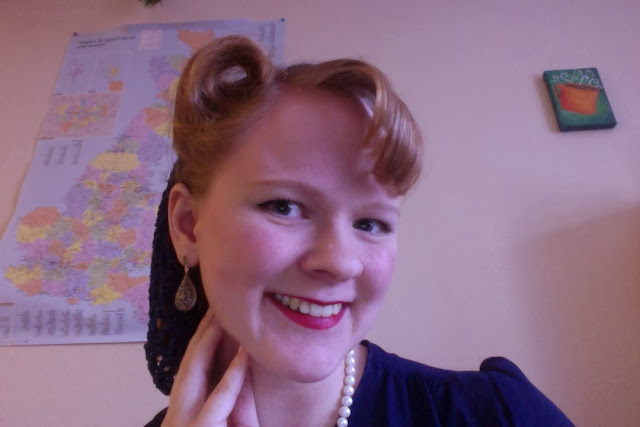
Over the last month I have developed an interest in the 40's, as a result of the show Land Girls. I decided to embrace the look and have been experimenting with hair styles. I ordered two snoods, one red, one navy blue. I thought those two colors would go with most of my wardrobe.

First I scoured the internet, and discovered that one of my favorite blogs, Va-Voom Vintage has a great tutorial. I liked how she styled it with a snood, so I gave it a shot myself, but without the faux bangs.

Victory Rolls with Snood Adventures in the Past Blog
I took a two inch (approximately) section of my hair on the side with less hair. I combed it straight out, and teased the inside, so it was puffy. I rolled it in (with quite a bit of difficulty) and there it was!

Victory Rolls with Snood Adventures in the Past Blog

I did the same thing on the other side, but had trouble because my bangs are parted that way, and they are rather long. My bangs are thin today, because of that. Once that was done, I attached the snood with SEVERAL bobby pins, because my hair is a little short, and done. Well, first I coated my hair in hairspray, then I was done. I did not want anything to fall.

I know the quality of the photos aren't great, but my camera is still out of service (I am using photo booth on my mac). They are a little frizzy, the victory rolls I mean, but I got the general shape. The snood really helped, my hair would have looked a mess without it.

Victory Rolls and Snood Adventures in the Past Blog


I got a bunch of compliments, and quite a few odd looks, but I feel successful. Anyone else trying some new looks this year? I'd love to hear from you!

Monday, December 09, 2013

Makeup

For the past few days I have been rather unmotivated and have not done myself up. I worked extra hours, early hours, so I often felt too tired to try to put on makeup. This morning, however, I did my makeup, as I normally do, and really enjoyed it. I had forgotten how much I love getting ready in the morning.

Source

I don't think I need makeup to be beautiful, but I love the ritual. Powder, eyeliner, mascara, brows, blush, lips. It is this routine that makes me feel like I've started my day. I had been feeling off for the past few days, and I think now I know why. I hadn't been indulging in this ritual.

There is this vintage makeup ad that I run into frequently, and it somewhat upsets me.

It implies that you need makeup to be beautiful. "You'd hardly believe that the same face could become so beautiful, would you?" I think the woman on the left looks just as beautiful as the woman on the right. In the 50's and 60's especially, but even now, women were considered not dressed until they had "on their face". That is one of the reasons makeup is so vital to the vintage look, because everyone wore makeup, but that is because society told them they had to.

What I am saying is, if you like makeup and you feel it makes you look better, wear it proudly. If you don't think you need to wear makeup, go out proudly. If you are like me, and love the ritual, then indulge in the ritual. You don't need to wear makeup to be beautiful. Everyone is beautiful. Accept it in yourself.

Thursday, December 05, 2013

Very Marylin!

I was recently referred to the website eShakti. They make custom dresses. You find the one you like, and can choose from a predetermined size, or you can give them your measurements and preferences and they will customize it! The customization is just $7.50, which is really not bad for a perfect dress. I looked over the website, and found this dress:
Marylin Monroe Dress from eShakti on Adventures in the Past Blog

Marylin Monroe Dress from eShakti Adventures in the Past Blog

Marylin Monroe Dress, back view, from eShakti, Adventures in the Past blog

Marylin Monroe Dress, side, from eShakti, Adventures in the Past Blog

Maryln Monroe Dress, side, from eShakti, Adventures in the Past Blog
It is hard to tell, but it is beige and black, not white and black houndstooth. The dress was a steal! They are currently (for the next 5 days) running a sale of 35% off the whole site! I have a referral code for $30 off your purchase. I want to know people want it before I post it, so leave comments below if you are interested. It expires the end of the month!

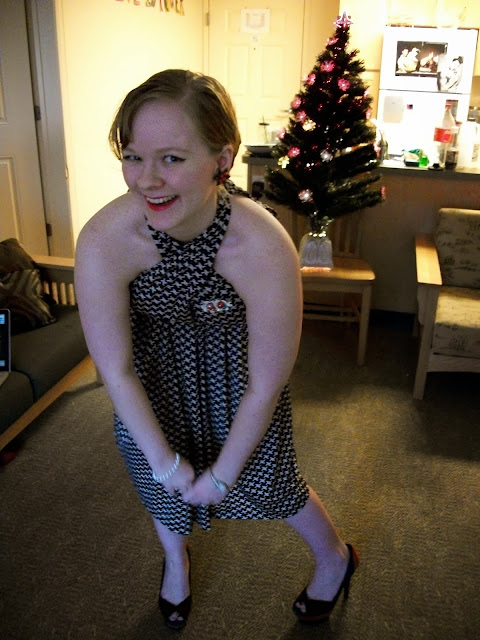
This dress makes me feel like Marylin from Seven Year Itch. I think if I just stood on an air vent, it would complete the look! It isn't identical, but it has a similar feel. The dress needed a belt, because it had an elastic waist, but that is just this dress. Most of them don't need an added belt.

Look into it! The website is wonderful!

Wednesday, December 04, 2013

The Buche De Noel

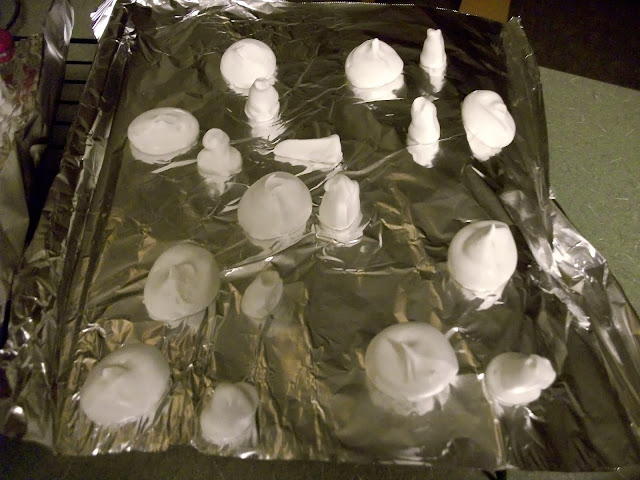
Every year I make at least one Buche De Noel. They are one of my favourite things to make. They date back centuries. They are a cake that looks like a log. This was an offspring of the traditional Yule Log: an actual log. Buche De Noel means Christmas log, or Yule log. It is a sponge cake rolled up with a creamy filling, and frosted with chocolate frosting (to look like bark); it is often garnished with meringue mushrooms!

Meringe Mushroom caps and stems, Adventures in the Past Blog


The un-assembled mushrooms

Buche De Noel, Unfrosted, Adventures in the Past Blog

Cake, phase 1 (well third after baking, rolling, and filling. but first for actually assembly)

Buche de Noel, Dirty Frosted, Adventures in the Past Blog

Cake Phase 2: Dirty frosted

Buche De Noel Finished Product, Adventures in the Past Blog

Buche De Noel Finished Product, Adventures in the Past Blog
And lastly, garnished with mushrooms and holly. I felt that I needed to get all decked out for Christmas, in order to match the cake.

There are many different flavor combinations. I think the most traditional is orange sponge cake, with chocolate filling and frosting. The idea was to have the cake look like fresh cut wood when sliced. I however, go a different route: Chocolate cake, mocha filling, and dark chocolate frosting.


Here is the one from last year:

Buche De Noel 2012 Adventures in the Past Blog 

Sorry about the picture quality.

Anyway, the cake is delicious, and French, so you know it will taste as good as it looks. There is a new trend, however, to make the cake with mouse covered in a chocolate shell. So, I can attempt to justify my traditional version as a more retro Buche De Noel!

What do you bake at Christmastime? Happy Christmas!

Tuesday, December 03, 2013

It's Beginning to look a lot Like Chirstmas!

I decorated a while ago, but I only just yesterday got my tree! Well, my roommate brought it back with her from Thanksgiving. She had an extra one. So, we put it up, and plugged it in, and it sparkled!
 College Christmas Tree, Adventures in the Past Blog 
I, personally, am a real tree person. I always have real trees at home. But, since I am at college, I have to have a fake one. Oh, well. It is still beautiful.

Here are the rest of the decorations!
Christmas Decorations, Garland next to desk and map, Adventures in the Past Blog

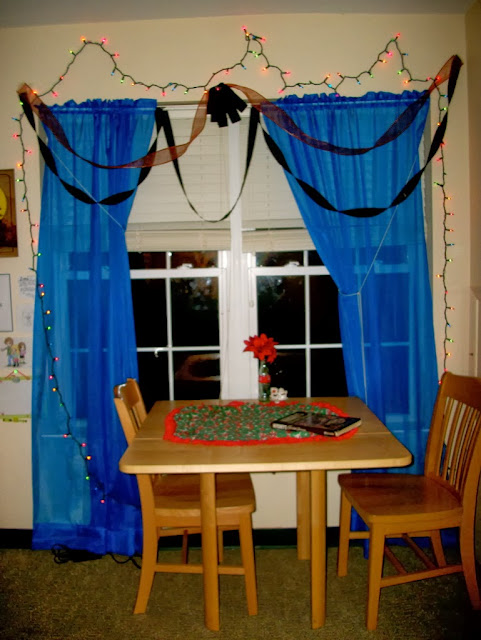
Christmas Decorations, Window and Table, Adventures in the Past Blog

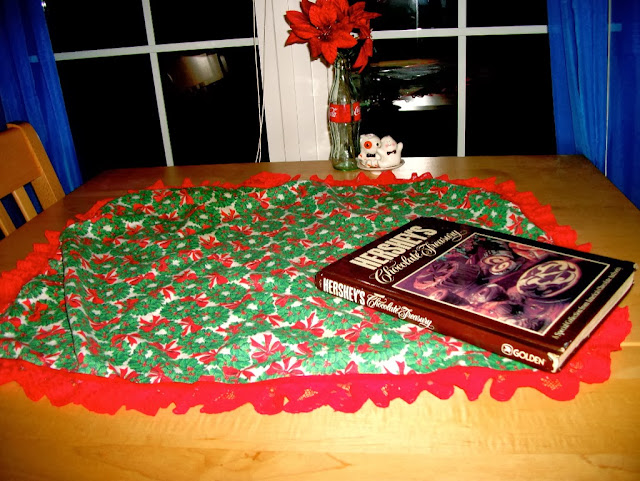
Christmas Decorations, Table runner and cookbook, Adventures in the Past Blog

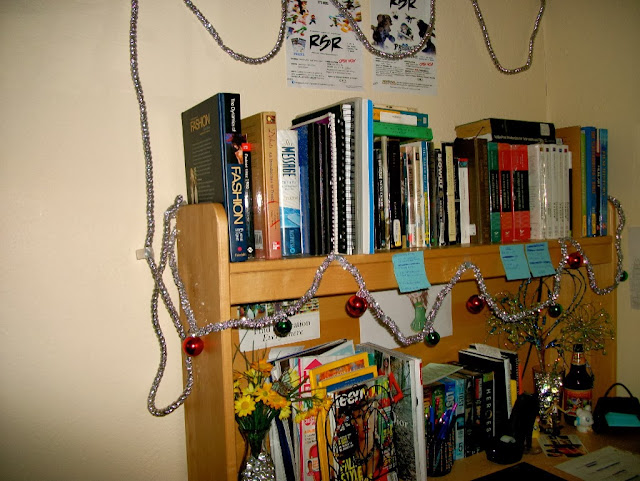
Christmas Decorations, Garland on Desk, Adventures in the Past Blog
We put things up above both of our desks, and around the window. The table runner was made by my mother years ago. She used the same fabric to make a tablecloth, stockings, and Christmas outfits for me and my siblings.

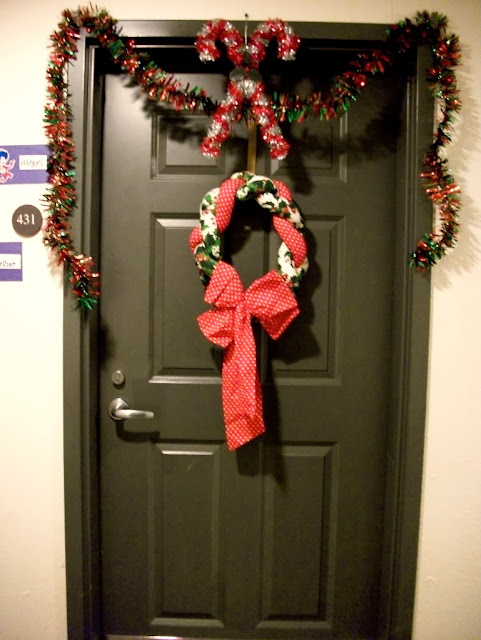
But, my favorite part of our decoration is the door. It is lovely, welcoming, and garnished with a vintage home-made wreath.
Christmas Decorations, Vintage Handmade Wreath, Adventures in the Past Blog
What have you done for Christmas?