Sunday, January 19, 2014

Vintage Hair Week, Day 1: Victory Rolls

Victory rolls became popular because of WWII. It kept hair out of women's faces efficiently, and  beautifully. It also formed a "V" shape which stood for Victory! Hence the name.

Here's what you will need:
Victory Rolls Tutorial, supplies, Adventures in the Past blog

Bobby pins in your hair color
Hairspray (cheap hairspray is best because it has more lacquer)
A teasing brush, you can get them at any beauty supply store
A boar bristle brush

Step 1:
Part your hair the way you want it, I did mine to the side.
I separated a section from the side with less hair, and clipped the rest out of the way.
Victory Rolls Tutorial, Step 1, Adventures in the Past blog
This makes it easier to roll. The section was about 2" at the root.

Step 2:
Pull the hair straight up. You may need a comb to help you here.
Victory Rolls Tutorial, Step 2a, Adventures in the Past blog
Then tease the inside of the roll. Don't tease the outside, because you want it to be smooth.
Victory Rolls Tutorial, Step 2b, Adventures in the Past blog
It will not look pretty.

Step 3:
Roll the hair around 2 or 3 fingers, depending on how big you want it. For this I used three fingers.
To pin it into place, you put one bobby pin facing towards the back of your head, and one facing the front. This keeps it from sliding about. If you need another, go ahead.
Victory Rolls Tutorial, Step 3a, Adventures in the Past blog

Spray it thoroughly, holding it in place as necessary.
Victory Rolls Tutorial, Step 3b, Adventures in the Past blog

Step 4:
For the other side, section off a larger section of hair, and clip back the rest.
Victory Rolls Tutorial, Step 4, Adventures in the Past blog
Again, pull it straight up, and tease the inside.

Step 5:
Roll using the same number of fingers towards your scalp.
Victory Rolls Tutorial, Step 5a, Adventures in the Past blog
Pin it in place the same as before. One pin forward, one pin back.
Spray it thoroughly, and hold in place as necessary.
Victory Rolls Tutorial, step 5b, Adventures in the Past blog

Step 6:
Comb out your bangs, if you have them, and sweep them to the side. Blend them into the curl, if they are long, like mine.
Victory Rolls Tutorial, step 6, Adventures in the Past blog

Spray them in place, and pin them if you need.

And Done!
Victory Rolls Tutorial, Finished Product, Adventures in the Past blog
Victory rolls!

If you have any questions, let me know, and I will do my best to answer!

Thursday, January 16, 2014

Coming Soon...

Recently I have gotten rather interested in vintage hair styles.

From the crisp bob of the 1920's...


To the Victory rolls of the 1940's...
 
To the pageboy hair of the late 1940's and 1950's...
 
To the Bouffants and beehives of the 1960's...
 

I love it all!

I have been teaching myself how to do some of these hair styles, and next week I am going to do a Vintage Hair style week. I will try to write tutorials for a couple of them, because I know it can be confusing sometimes. Look for these next week!

Monday, January 13, 2014

40's Obsession

Hello, friends, I am so sorry that I have not posted in over a month. My camera broke, and I used that as an excuse. Really, my father died last February, and his birthday is in December. That, along with our first Christmas at home without him, things got really difficult for me. I'm back, though, and I will try to keep up at least two posts a week (preferably more).

Over the last month I have developed an interest in the 40's, as a result of the show Land Girls. I decided to embrace the look and have been experimenting with hair styles. I ordered two snoods, one red, one navy blue. I thought those two colors would go with most of my wardrobe.

First I scoured the internet, and discovered that one of my favorite blogs, Va-Voom Vintage has a great tutorial. I liked how she styled it with a snood, so I gave it a shot myself, but without the faux bangs.

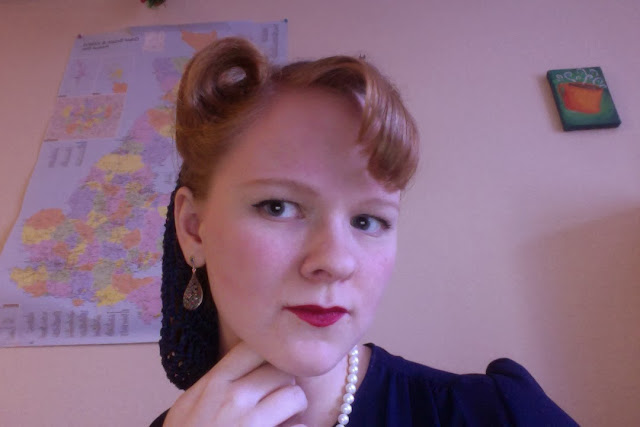
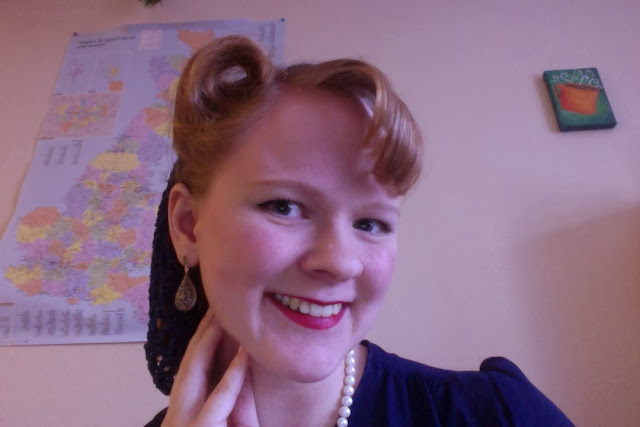
Victory Rolls with Snood Adventures in the Past Blog
I took a two inch (approximately) section of my hair on the side with less hair. I combed it straight out, and teased the inside, so it was puffy. I rolled it in (with quite a bit of difficulty) and there it was!

Victory Rolls with Snood Adventures in the Past Blog

I did the same thing on the other side, but had trouble because my bangs are parted that way, and they are rather long. My bangs are thin today, because of that. Once that was done, I attached the snood with SEVERAL bobby pins, because my hair is a little short, and done. Well, first I coated my hair in hairspray, then I was done. I did not want anything to fall.

I know the quality of the photos aren't great, but my camera is still out of service (I am using photo booth on my mac). They are a little frizzy, the victory rolls I mean, but I got the general shape. The snood really helped, my hair would have looked a mess without it.

Victory Rolls and Snood Adventures in the Past Blog


I got a bunch of compliments, and quite a few odd looks, but I feel successful. Anyone else trying some new looks this year? I'd love to hear from you!